
Set up a pre-sale for your events
Pre-sales let you schedule ticket sales in advance and offer early access to select audiences. You can protect early access with a code, control when events become visible to visitors, and show clear messaging before tickets go on sale.
How pre-sales work
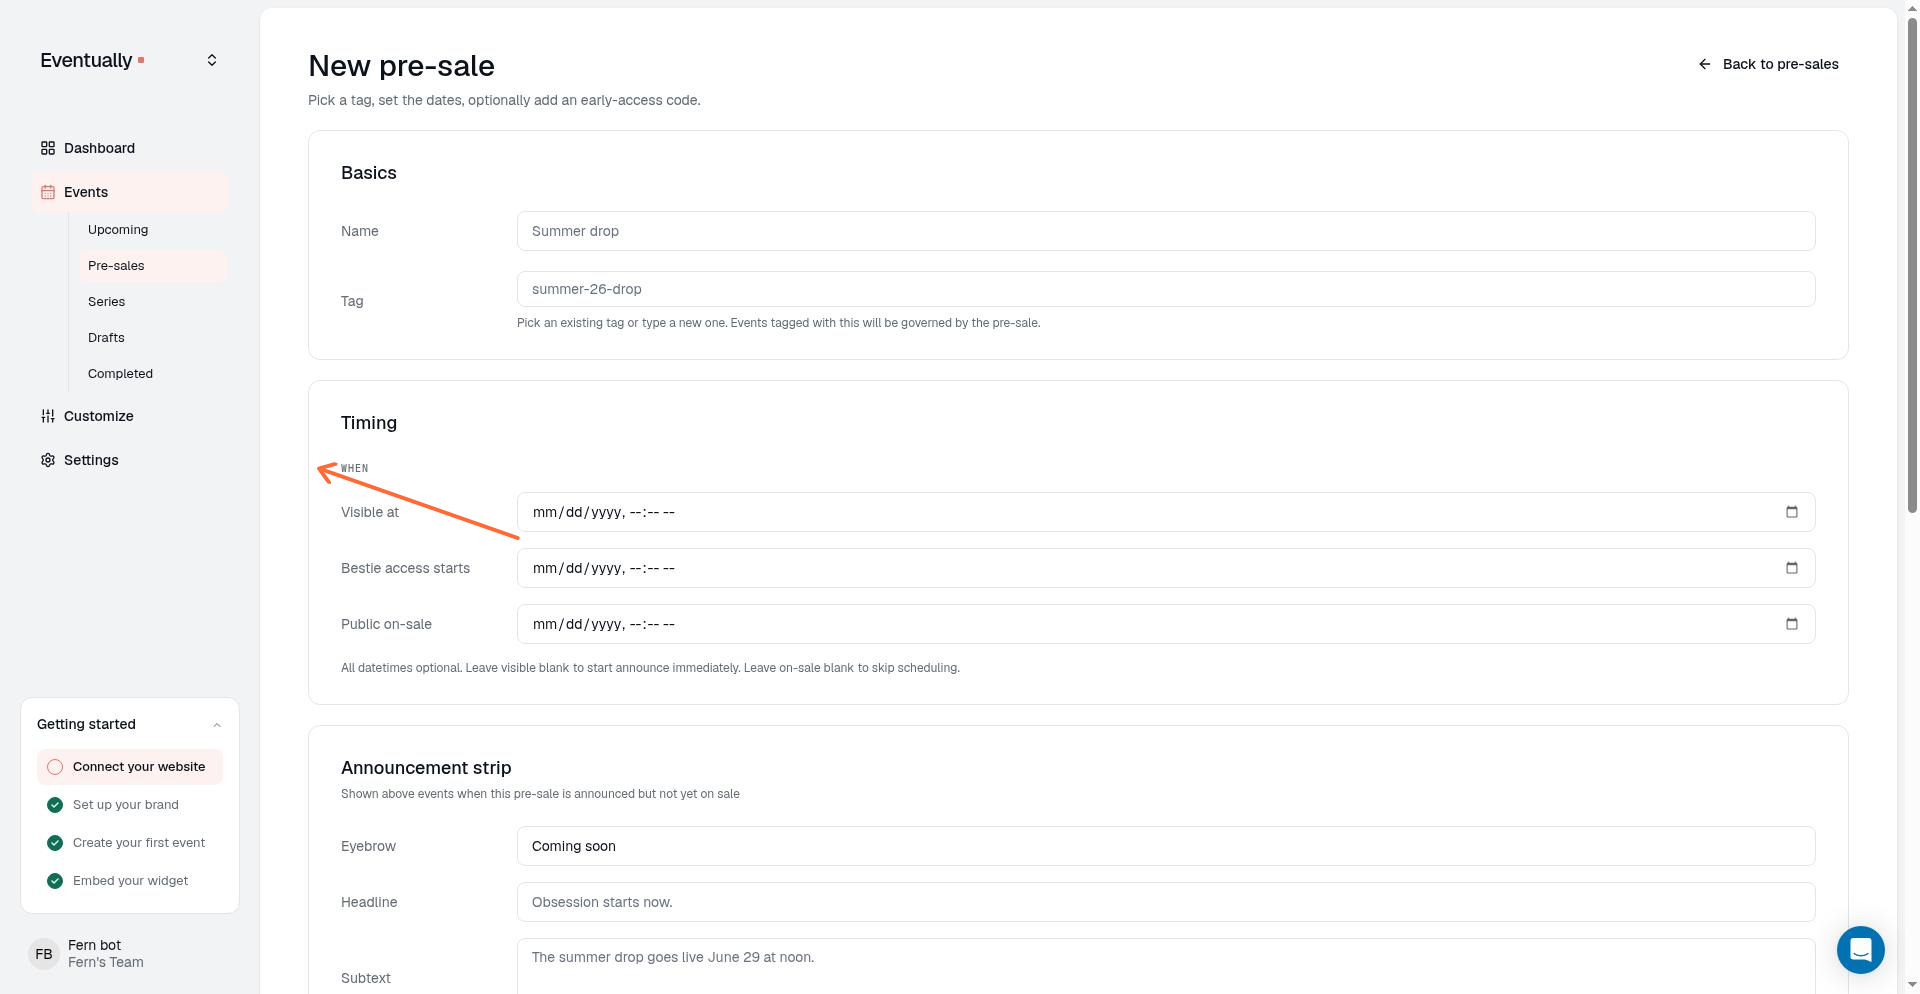
A pre-sale applies to all events sharing a tag. You control three timing windows:
Visible at — When events in the tag first appear in your calendar widget. Before this time, visitors won't see them.
Bestie access starts — When select visitors can purchase tickets before general sale. You can protect this window with an access code.
Public on-sale — When tickets are available to everyone.
Visitors see different messaging depending on the current state: a "Coming soon" label before visibility, an unlock prompt during bestie access if you use an access code, and normal purchase options once public on-sale begins.
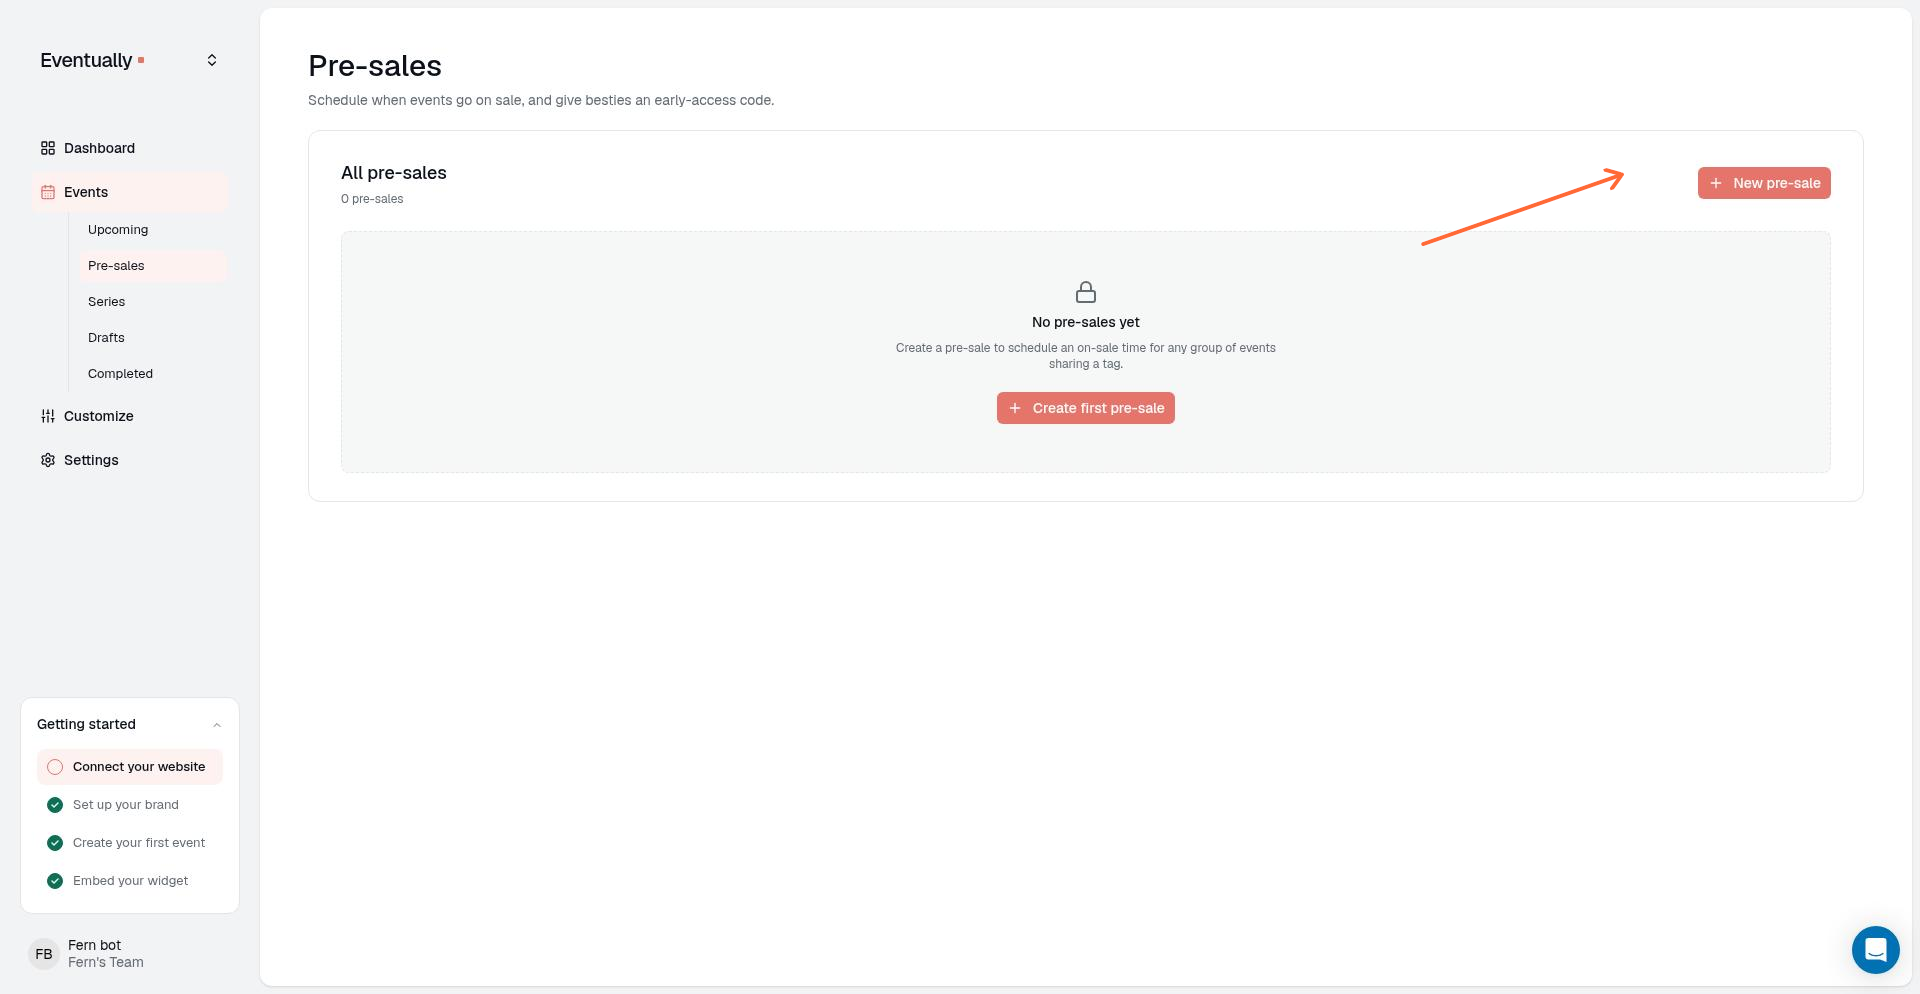
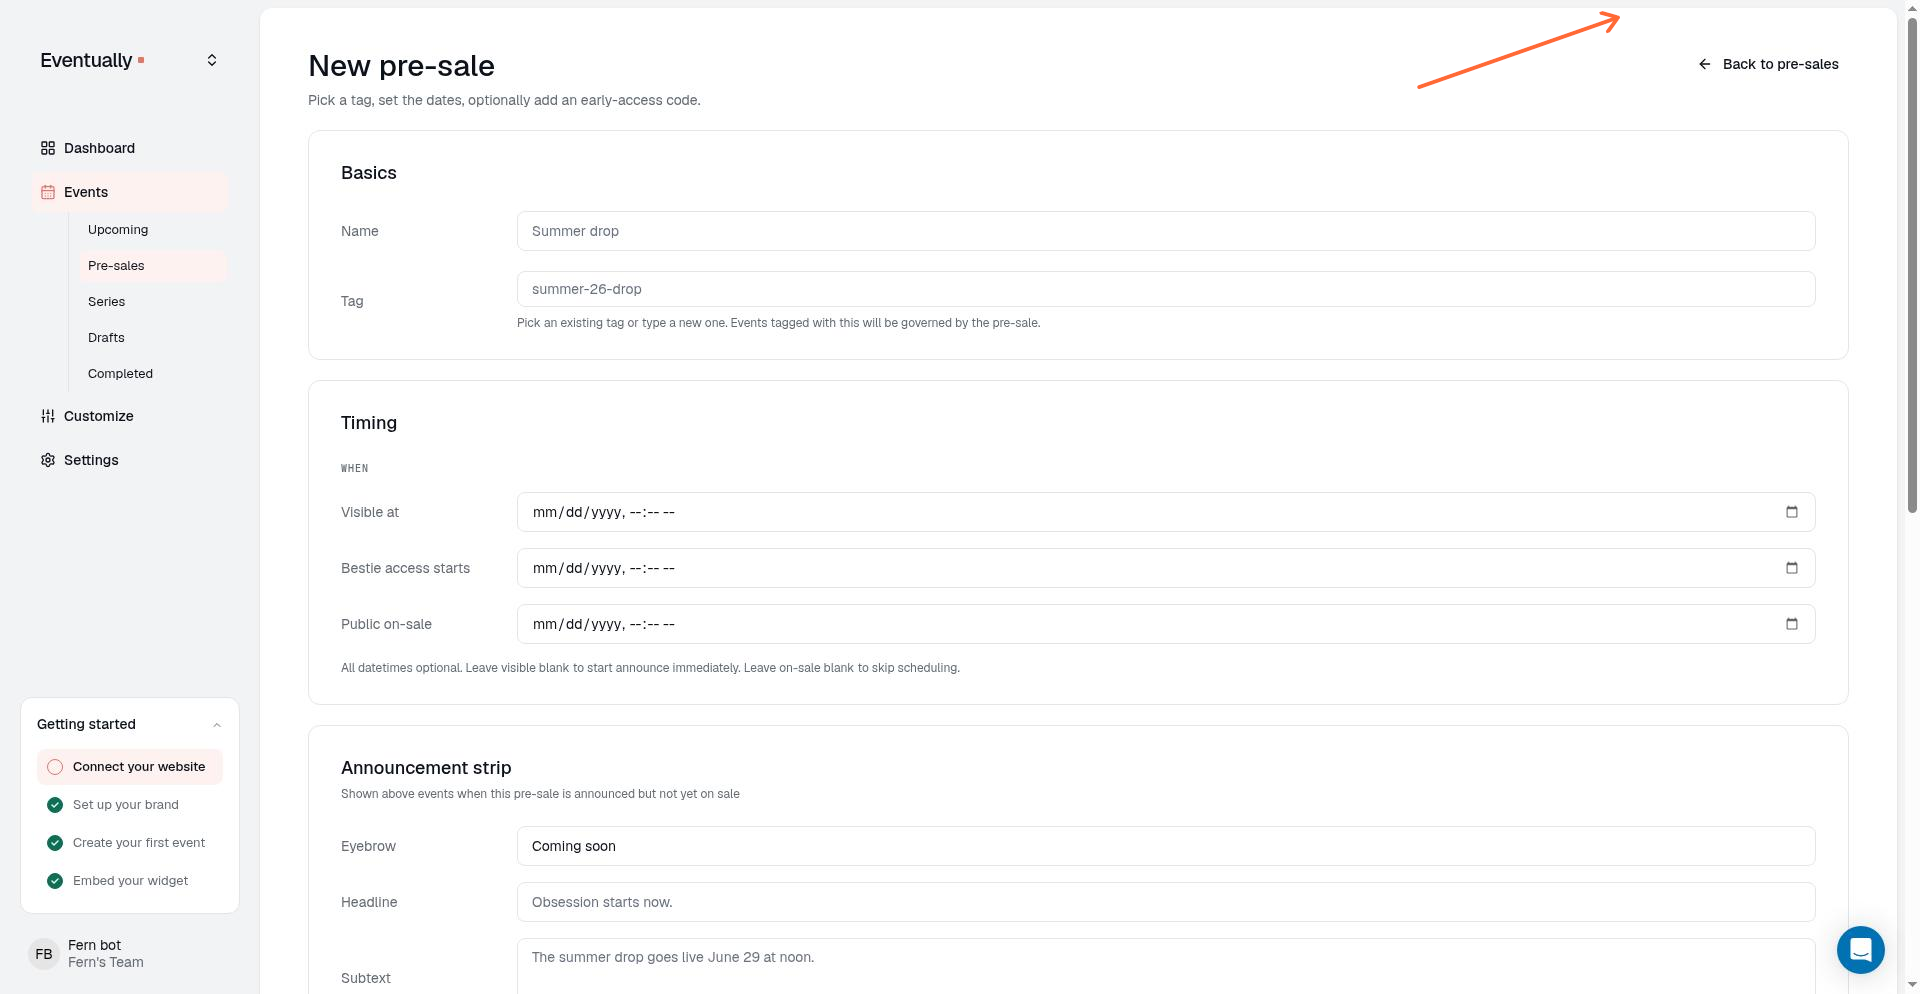
Create a pre-sale
Go to Pre-sales in your Eventually dashboard.
Click New pre-sale.
In the Basics section, enter a name for your pre-sale and choose the tag it applies to. All events with this tag will follow the pre-sale schedule. You can pick an existing tag or type a new one.
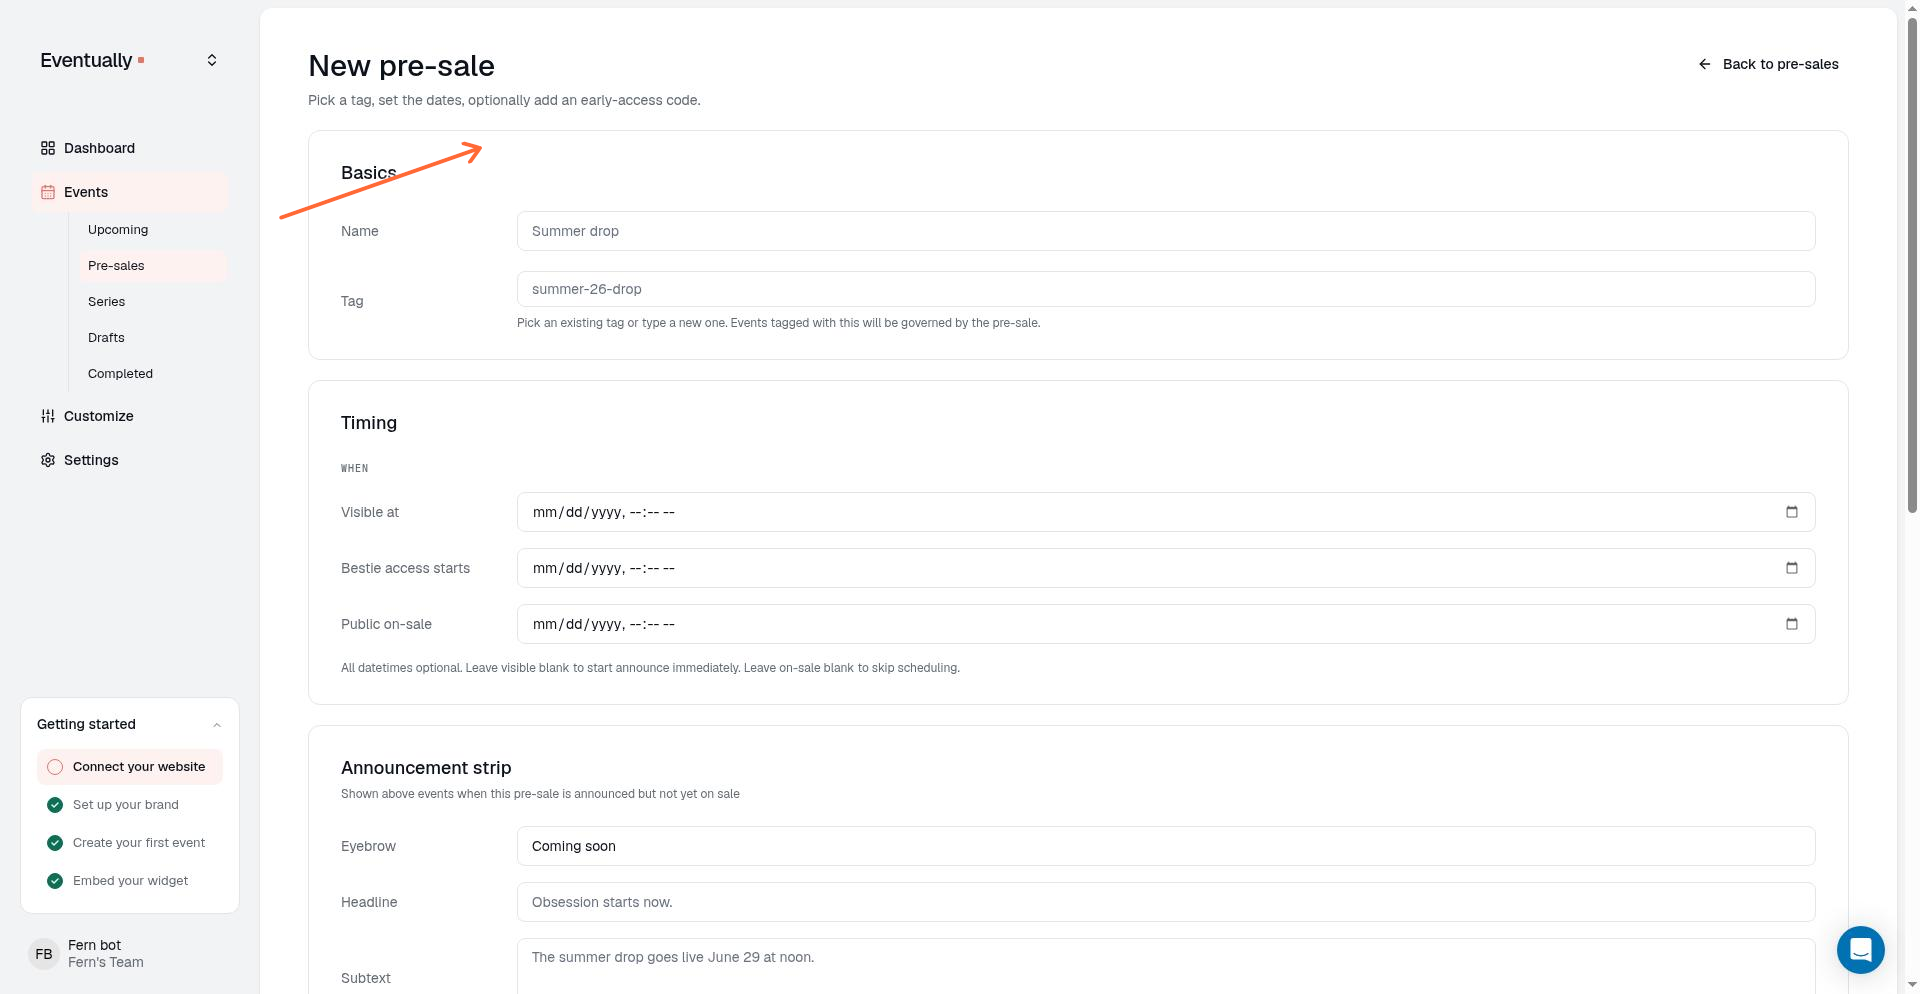
Under Timing, set the three scheduling windows:
Visible at — When events appear in your widget.
Bestie access starts — When early access begins.
Public on-sale — When tickets are available to all visitors.
If you want to restrict early access, scroll to the Early access (besties) section and enter an Access code. Visitors will need this code to purchase tickets before public on-sale.
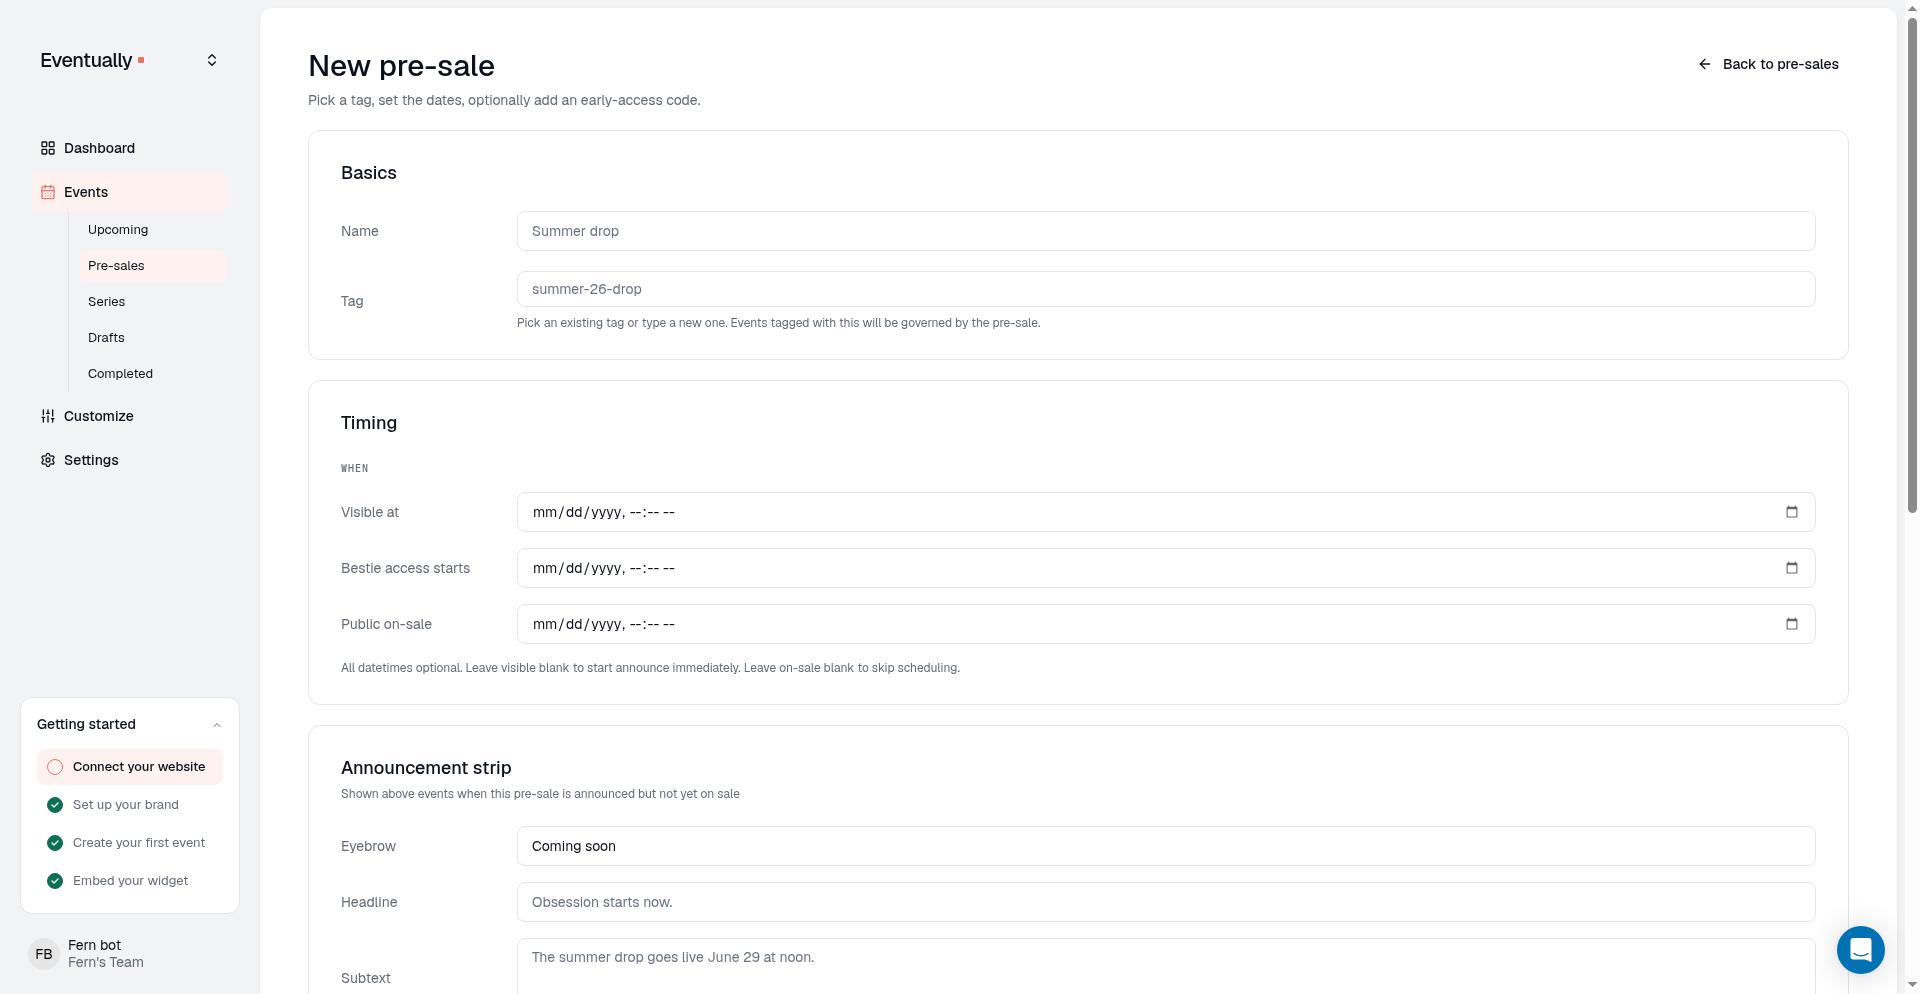
Click Create pre-sale to save.
What visitors see
The calendar widget displays different states for events in a pre-sale:
Before visible — Events don't appear in the widget. The pre-sale strip at the top of the widget shows a "Coming soon" message.
Between visible and bestie access — Events appear in the widget but purchase buttons show "Coming soon" until early access begins.
During bestie access (with code required) — Events appear with a prompt to enter an access code. Visitors who enter the correct code can purchase tickets.
During bestie access (no code) — Events appear with purchase buttons enabled. Any visitor can buy tickets.
Public on-sale — Events display normally with all purchase options available.
Pre-sales apply to events by tag. If an event has multiple tags, it will follow the pre-sale schedule of any tag it belongs to.
Edit or remove a pre-sale
To change timing windows or the access code, go to Pre-sales and select the pre-sale to edit. Changes take effect immediately in your embedded widget.
To remove a pre-sale, delete it from the pre-sales list. Events in that tag will then be available for normal purchase immediately.
Next steps
Set up your calendar widget — Embed your widget on Squarespace to display events.
Quick start guide — Review the overall setup flow for events and checkout.
Create recurring events — Set up classes or workshops that repeat on a schedule.