
Make sure your CSV file uses comma separators and UTF-8 encoding. If you are using a platform other than Squarespace, Shopify, or Eventbrite, download the Eventually template and map your columns to match.
Import events from a CSV file
If you have events from another platform or a previous system, you can import them into Eventually using a CSV file. The import tool accepts CSV exports from Squarespace, Shopify, and Eventbrite, or you can use the Eventually template for custom data. You can also import informational, calendar-only events that do not require registration by setting the disable_registration column to a truthy value.
Access the import tool
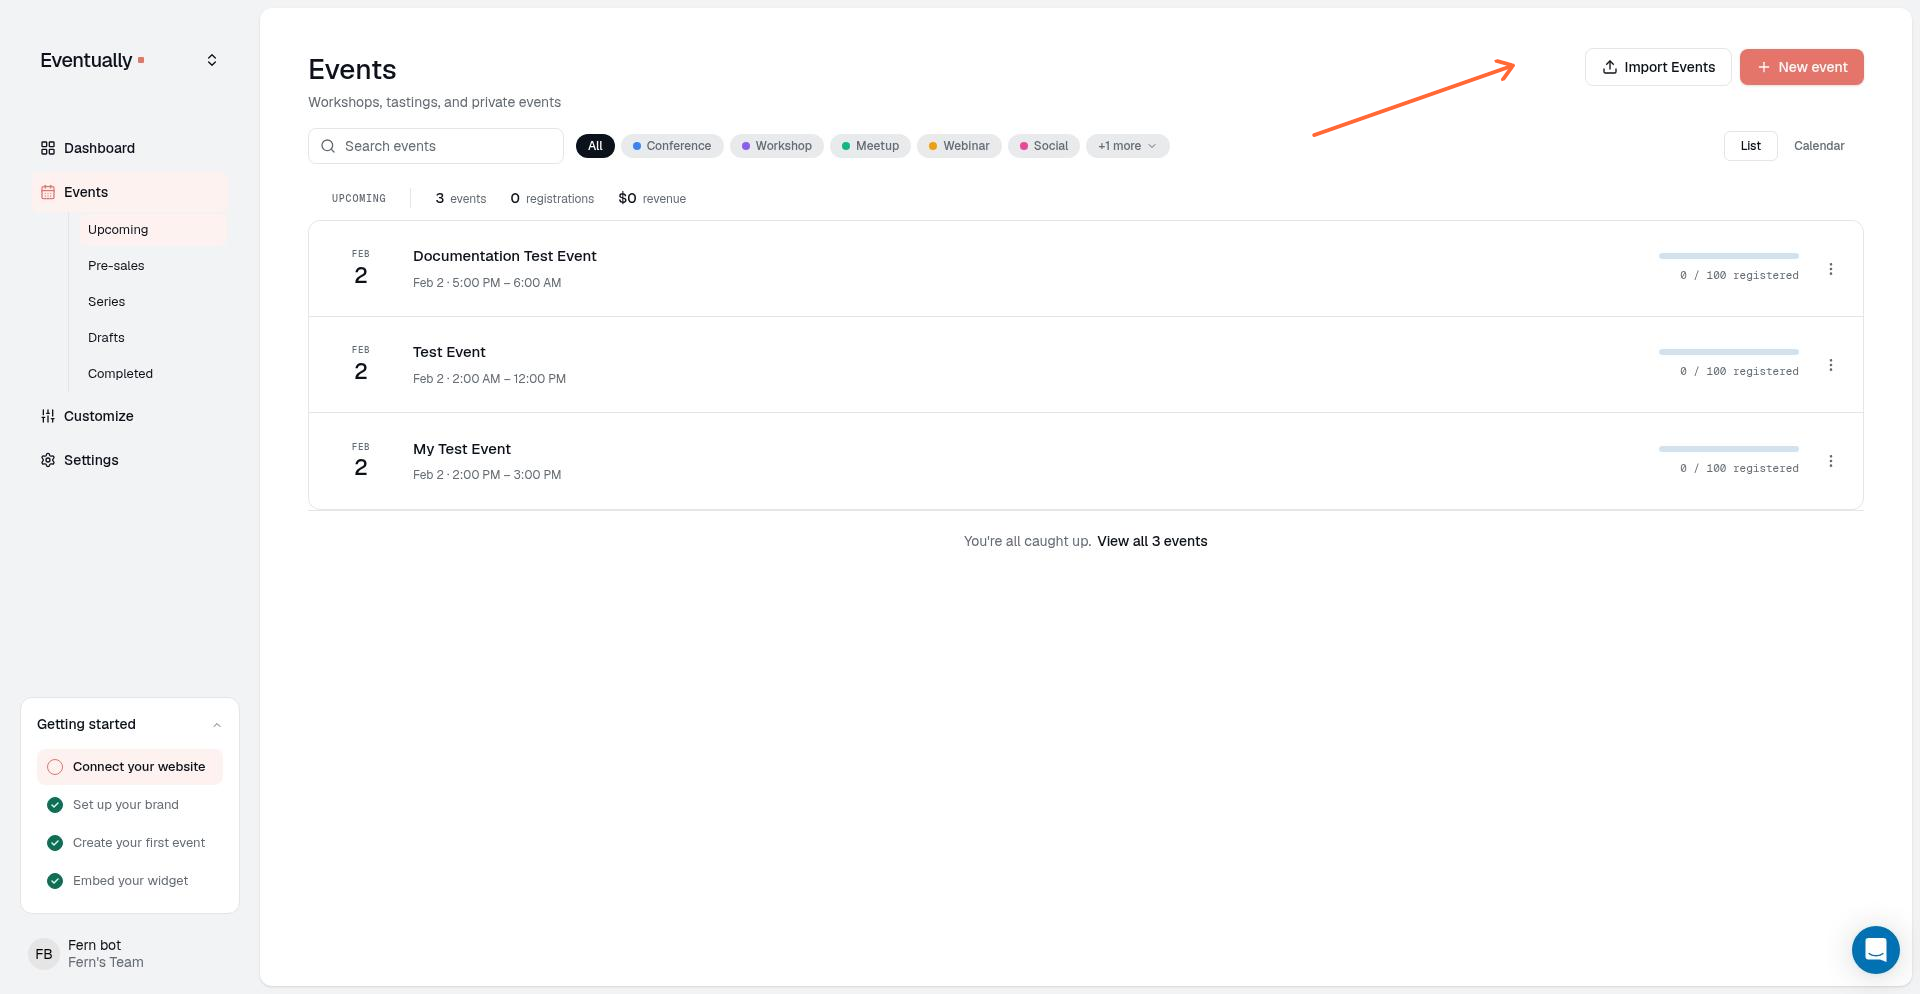
From your dashboard, click Events in the left sidebar to open the Events page. Then click the Import Events button next to New event.
Prepare your CSV file
In the import modal, you can download the Eventually CSV template to see the expected format, or upload a CSV export directly from Squarespace, Shopify, or Eventbrite.
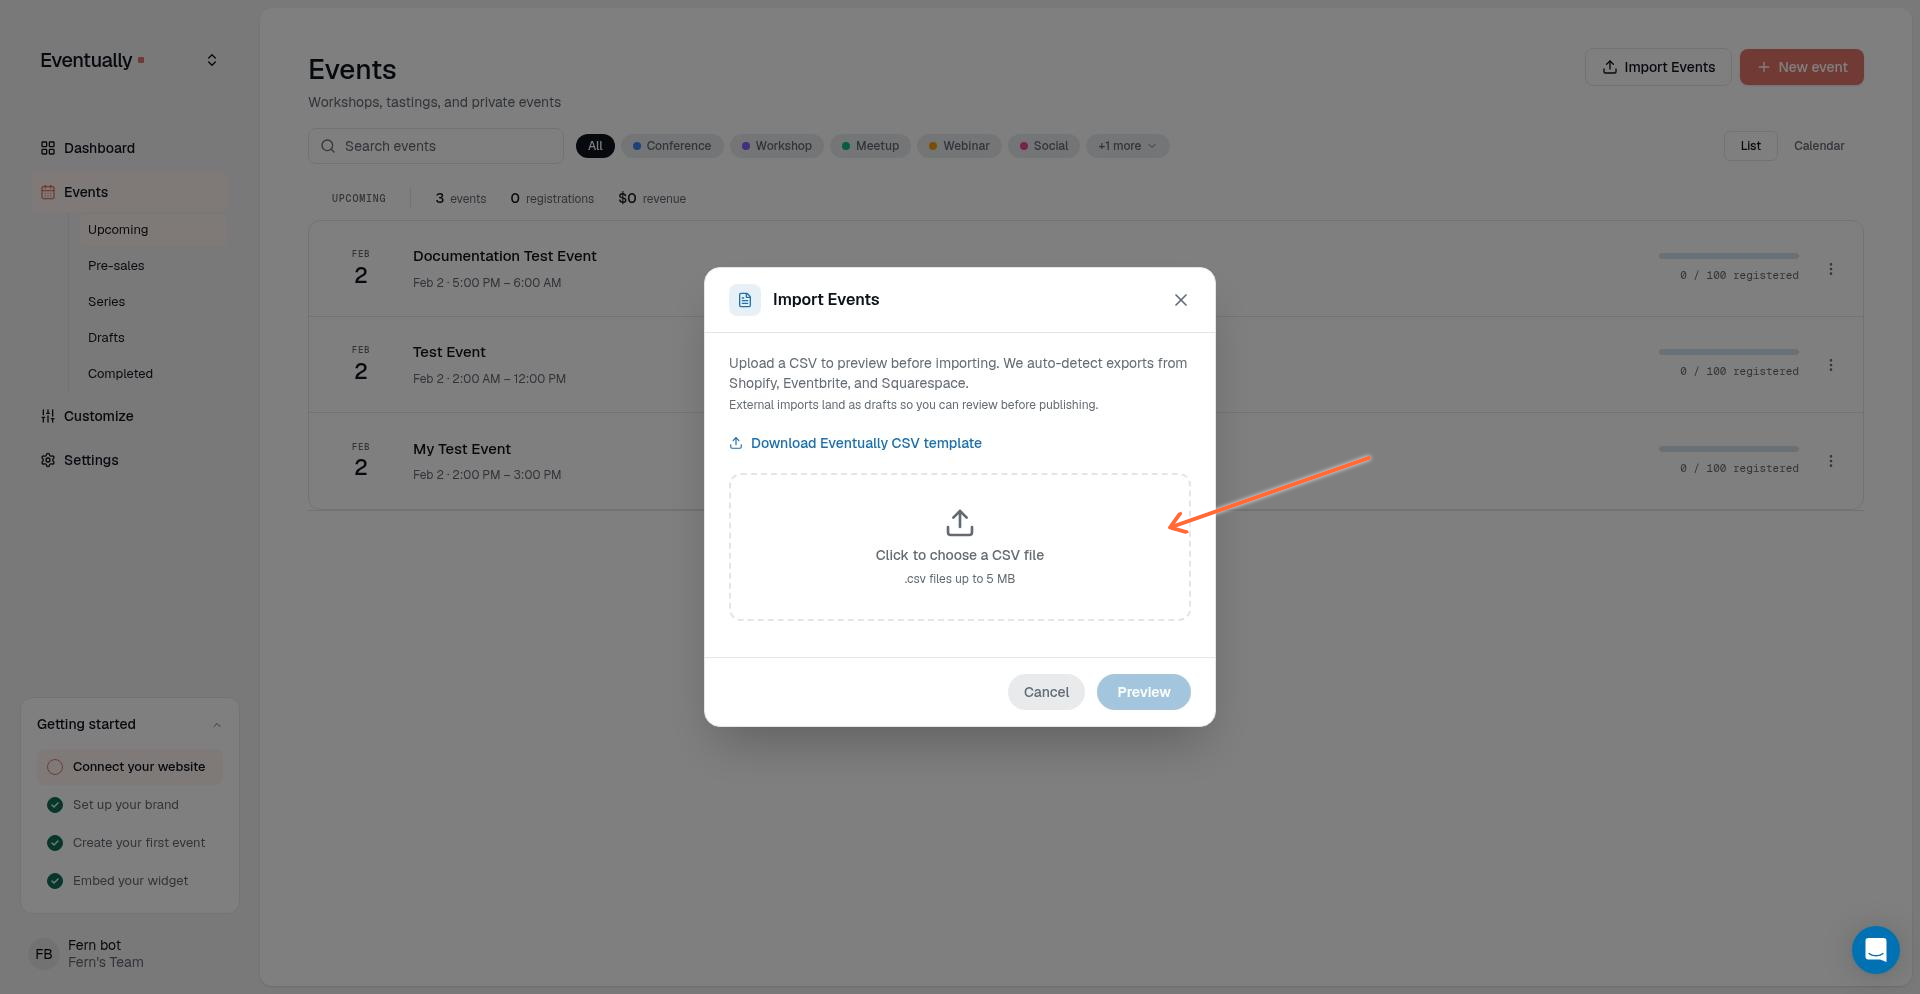
If you are exporting from Squarespace, Shopify, or Eventbrite, you do not need to reformat your CSV. Upload it as-is and Eventually will recognize the format.
Click Download Eventually CSV template to get the template with these columns:
Column | Sample value |
|---|---|
| |
| Sample Workshop |
| Learn the basics in a hands-on session. |
| 2026-04-01 10:00:00 |
| 2026-04-01 12:00:00 |
| in_person |
| The Studio |
| 123 Main St |
| |
| America/Chicago |
| draft |
| |
| Early Bird:45:10|General:65:20|VIP:95:5 |
| |
| Skill level?:dropdown:Beginner,Intermediate,Advanced:true|Any allergies?:text::false |
| true |
| false |
| engaged |
| Workshop, Social |
| |
| |
|
Calendar-only events. Set disable_registration to true to import an event with registration turned off. The event can be published without ticket types. Blank cells or false leave registration enabled and do not overwrite the existing setting when re-importing.
Upload and import
In the import modal, click Click to choose a CSV file or drag and drop your CSV file.
The file size limit is 5 MB for CSV uploads.
Click Preview to see how your events will be imported.
Review the preview for any errors or warnings.
Confirm the import to create your events.
After importing
Once your events are imported, review them on the Events page:
Open each event to add images, fine-tune descriptions, or set up attendee registration fields.
Assign categories for calendar filtering.
Configure recurring schedules for classes or workshops.
Set up automated emails for confirmations and reminders.
Imported events appear as drafts initially. Publish them when you are ready for visitors to see them in your calendar widget.
Events imported with disable_registration set to true can be published without adding ticket types. The usual publish requirement for at least one ticket type does not apply when registration is disabled.
Troubleshooting
CSV format not recognized
Import errors or missing data
Open your CSV in a text editor to verify:
All required columns are present
Dates are in a recognizable format (YYYY-MM-DD or MM/DD/YYYY)
The file is not corrupted or truncated
Fix the issues in your CSV and upload again.
Related guides
Edit an event — Update event details after importing
Customize event categories — Organize events into filterable groups
Creating recurring events — Set up repeating schedules
Was this helpful?